How to Build a Wedding Dessert Table on a Budget: Step-by-Step Checklist
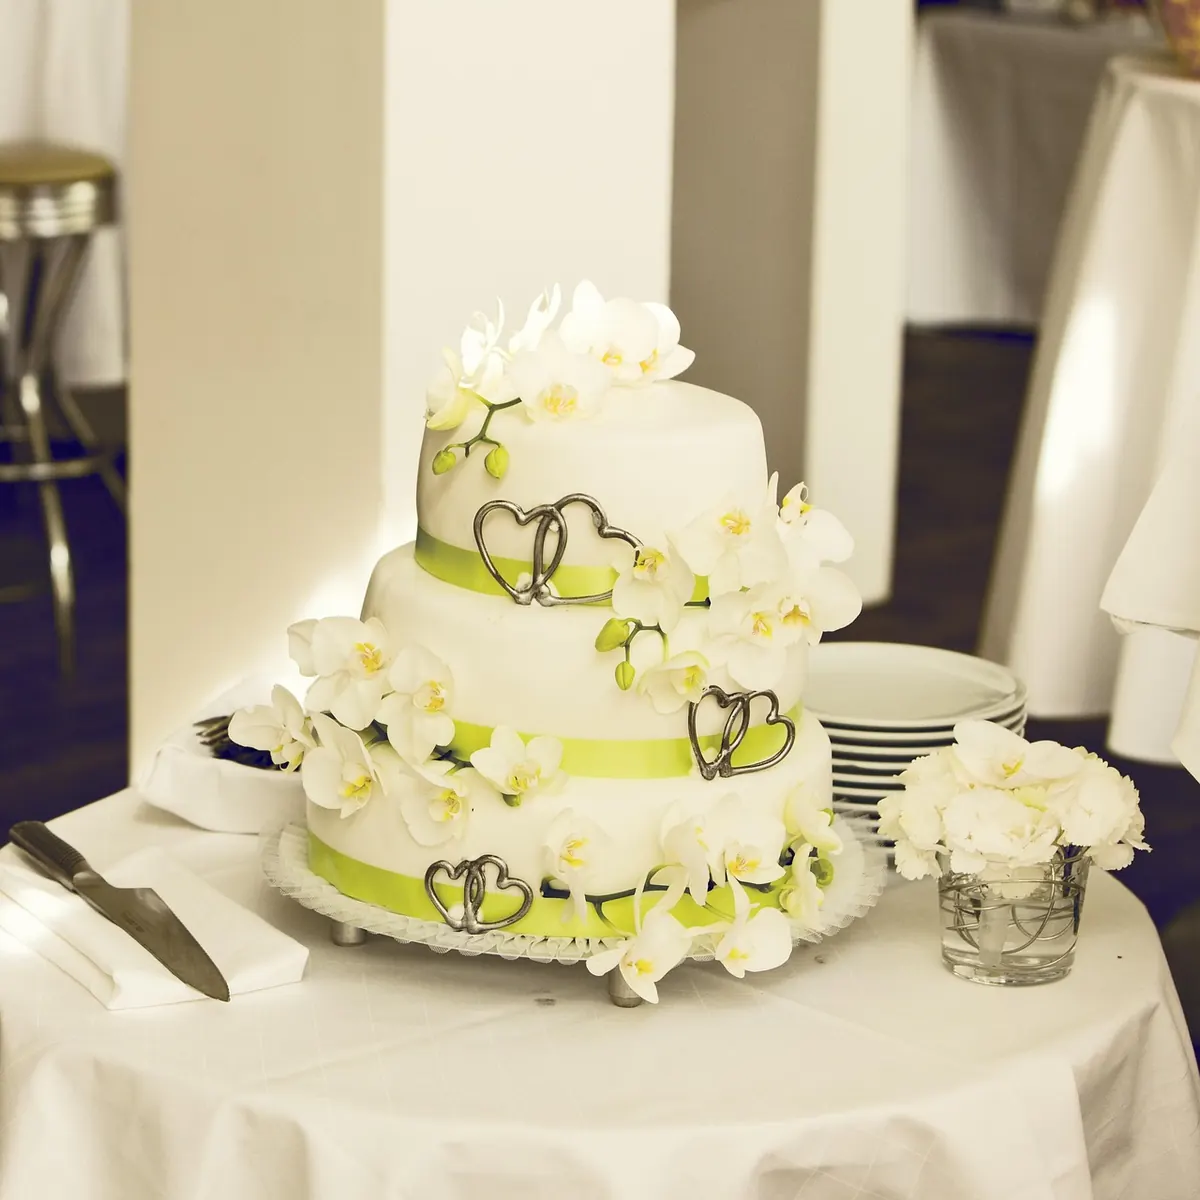
A dessert table is often the most photographed corner of a wedding reception, and it is also the easiest line item to overspend on. Custom cookies, a dozen flavors of macarons, three rented stands you will never use again — it adds up faster than the guest list. The good news is that a dessert table is one of the few places where careful planning looks exactly like money. Build it in this order and you will spend less and stress less.
1. Start With Two Numbers and a Format
Guest count and dessert budget. That is it. Everything else — how many cookies, whether you need a cake, what the table looks like — comes out of those two figures.
If you are working with a caterer, ask what dessert they already include before you plan a single thing. Many packages quietly cover it, and your table becomes an add-on of two or three extras instead of the main event. Get quoted prices, delivery charges, and setup fees in writing, and confirm whether your venue requires licensed or approved vendors. That rule has caught more couples off guard than any dessert ever has.
Then choose a format you can actually pull off:
- Full table. You source everything: bakery orders, grocery runs, borrowed stands, your own linens.
- Hybrid. A caterer or bakery handles the anchor dessert; you add two or three small extras to fill it out.
- Cake plus a small table. The cake is the dessert. The table is for late-night bites and coffee.
The hybrid is the sweet spot for most budgets. You get one strong centerpiece without paying boutique prices for four hundred miniature tartlets.
2. Do the Serving Math Before You Shop
This is where money leaks. Over-ordering is the most common dessert table mistake, and it stays invisible until the night ends with six full trays and nowhere to put them.
Plan roughly:
- Dessert table is the only dessert: 2–3 pieces per guest.
- Dessert table plus a wedding cake: 1–2 pieces per guest from the table, plus cake for everyone.
- Late-night snack only: 1–1.5 pieces per guest.
Small items disappear faster than large ones. People take three truffles without thinking and hesitate over one big brownie. If you are serving both, weight your order toward the small bites. Vendors sell by the dozen, so round up to the next dozen and stop worrying.
Also ask about temperature. Buttercream, chocolate-dipped anything, and cream fillings all have opinions about a warm afternoon. If the table sits outside or near a sunny window, build the menu around things that hold up.
3. Sketch the Layout Before You Rent a Single Thing
Draw the table on paper: shape, size, what sits behind it, where guests will stand. Then design it with three rules.
Work in threes
Three heights, three main colors, groups of three items. Odd numbers read as designed; even numbers read as accidental. A tall stand at the back, a mid-level plate in the middle, a low tray at the front is the whole trick.
Leave empty space
Crowding is what makes a budget table look like a budget table. If you cannot see the linen between the platters, take something off. Empty space costs nothing and it is the fastest upgrade available to you.
Order the flow
Guests move left to right. Put plates and napkins at the start, forks and a small sign before the food, and something tall and interesting at the end so the line does not pile up in one spot.
4. Rentals: Pay for Structure, Skip the Decor
Worth paying for:
- A linen that fits your table and touches the floor. It hides the legs, the cooler, and the boxes underneath, and it instantly makes the table look intentional.
- Two sturdy risers if you own none. Sturdy boxes wrapped in fabric work just as well.
- Plates and forks only if your venue does not provide them. Ask first, because plenty do.
Skip, borrow, or make instead:
- Novelty stands you will use once. Thrift stores, a friend's kitchen, cake boards stacked on cans, and inverted bowls under plates all do the job.
- Backdrops. If you want one, a sheet, a curtain rod, and some greenery cost far less than a rental.
- Anything the venue already supplies. Read the contract before you pay twice.
5. The Countdown That Keeps You Sane
Treat this as a working checklist and shift the dates to fit your own schedule.
- Eight weeks out: book the bakery or caterer, confirm quantities, and settle delivery.
- Four to six weeks out: order non-perishables — candy, packaging, labels, freeze-dried fruit.
- Two weeks out: finalize rentals, confirm the pickup or drop-off window, start collecting stands and trays.
- One week out: wash linens, print signs, and do a dry run of the full layout on your kitchen table.
- Two days out: buy fresh fruit, bake anything that freezes well, chill the drinks.
- The day before: assemble everything you can and label each box by table position.
- The day of: fresh and chilled items go on last, about thirty minutes before guests arrive. Give one person the job of restocking — assigning it in advance is the difference between a table that stays pretty and one that looks picked over by eight o'clock.
6. Where to Save and Where to Spend
Save by choosing variety over volume: one showstopper, three simple things, done. Seasonal fruit in small cups is inexpensive and looks generous. A plain sheet cake kept in the kitchen cuts costs dramatically — have it sliced in back and sent out while the display cake stays pretty for photos. Grocery store bakeries turn out solid cookies, brownies, and macarons for a fraction of boutique pricing, and nobody checks the box.
Spend on what guests actually taste: good buttercream, fresh chocolate, decent coffee to go with it, and one item that photographs beautifully. A dessert table is half flavor and half scene, so cover both without covering everything.
Serve Less, Set It Better
You do not need twelve desserts to have a dessert table people remember. You need a clear layout, accurate quantities, a linen that fits, and food that tastes like something. Three good desserts on a well-spaced table beat eight mediocre ones every time, and the leftovers go home with you.
Do a practice run a week before. Show it to one honest friend. Then relax and let it be simple.
Photo: andreas160578 / Pixabay